Photo: Natalie Levin
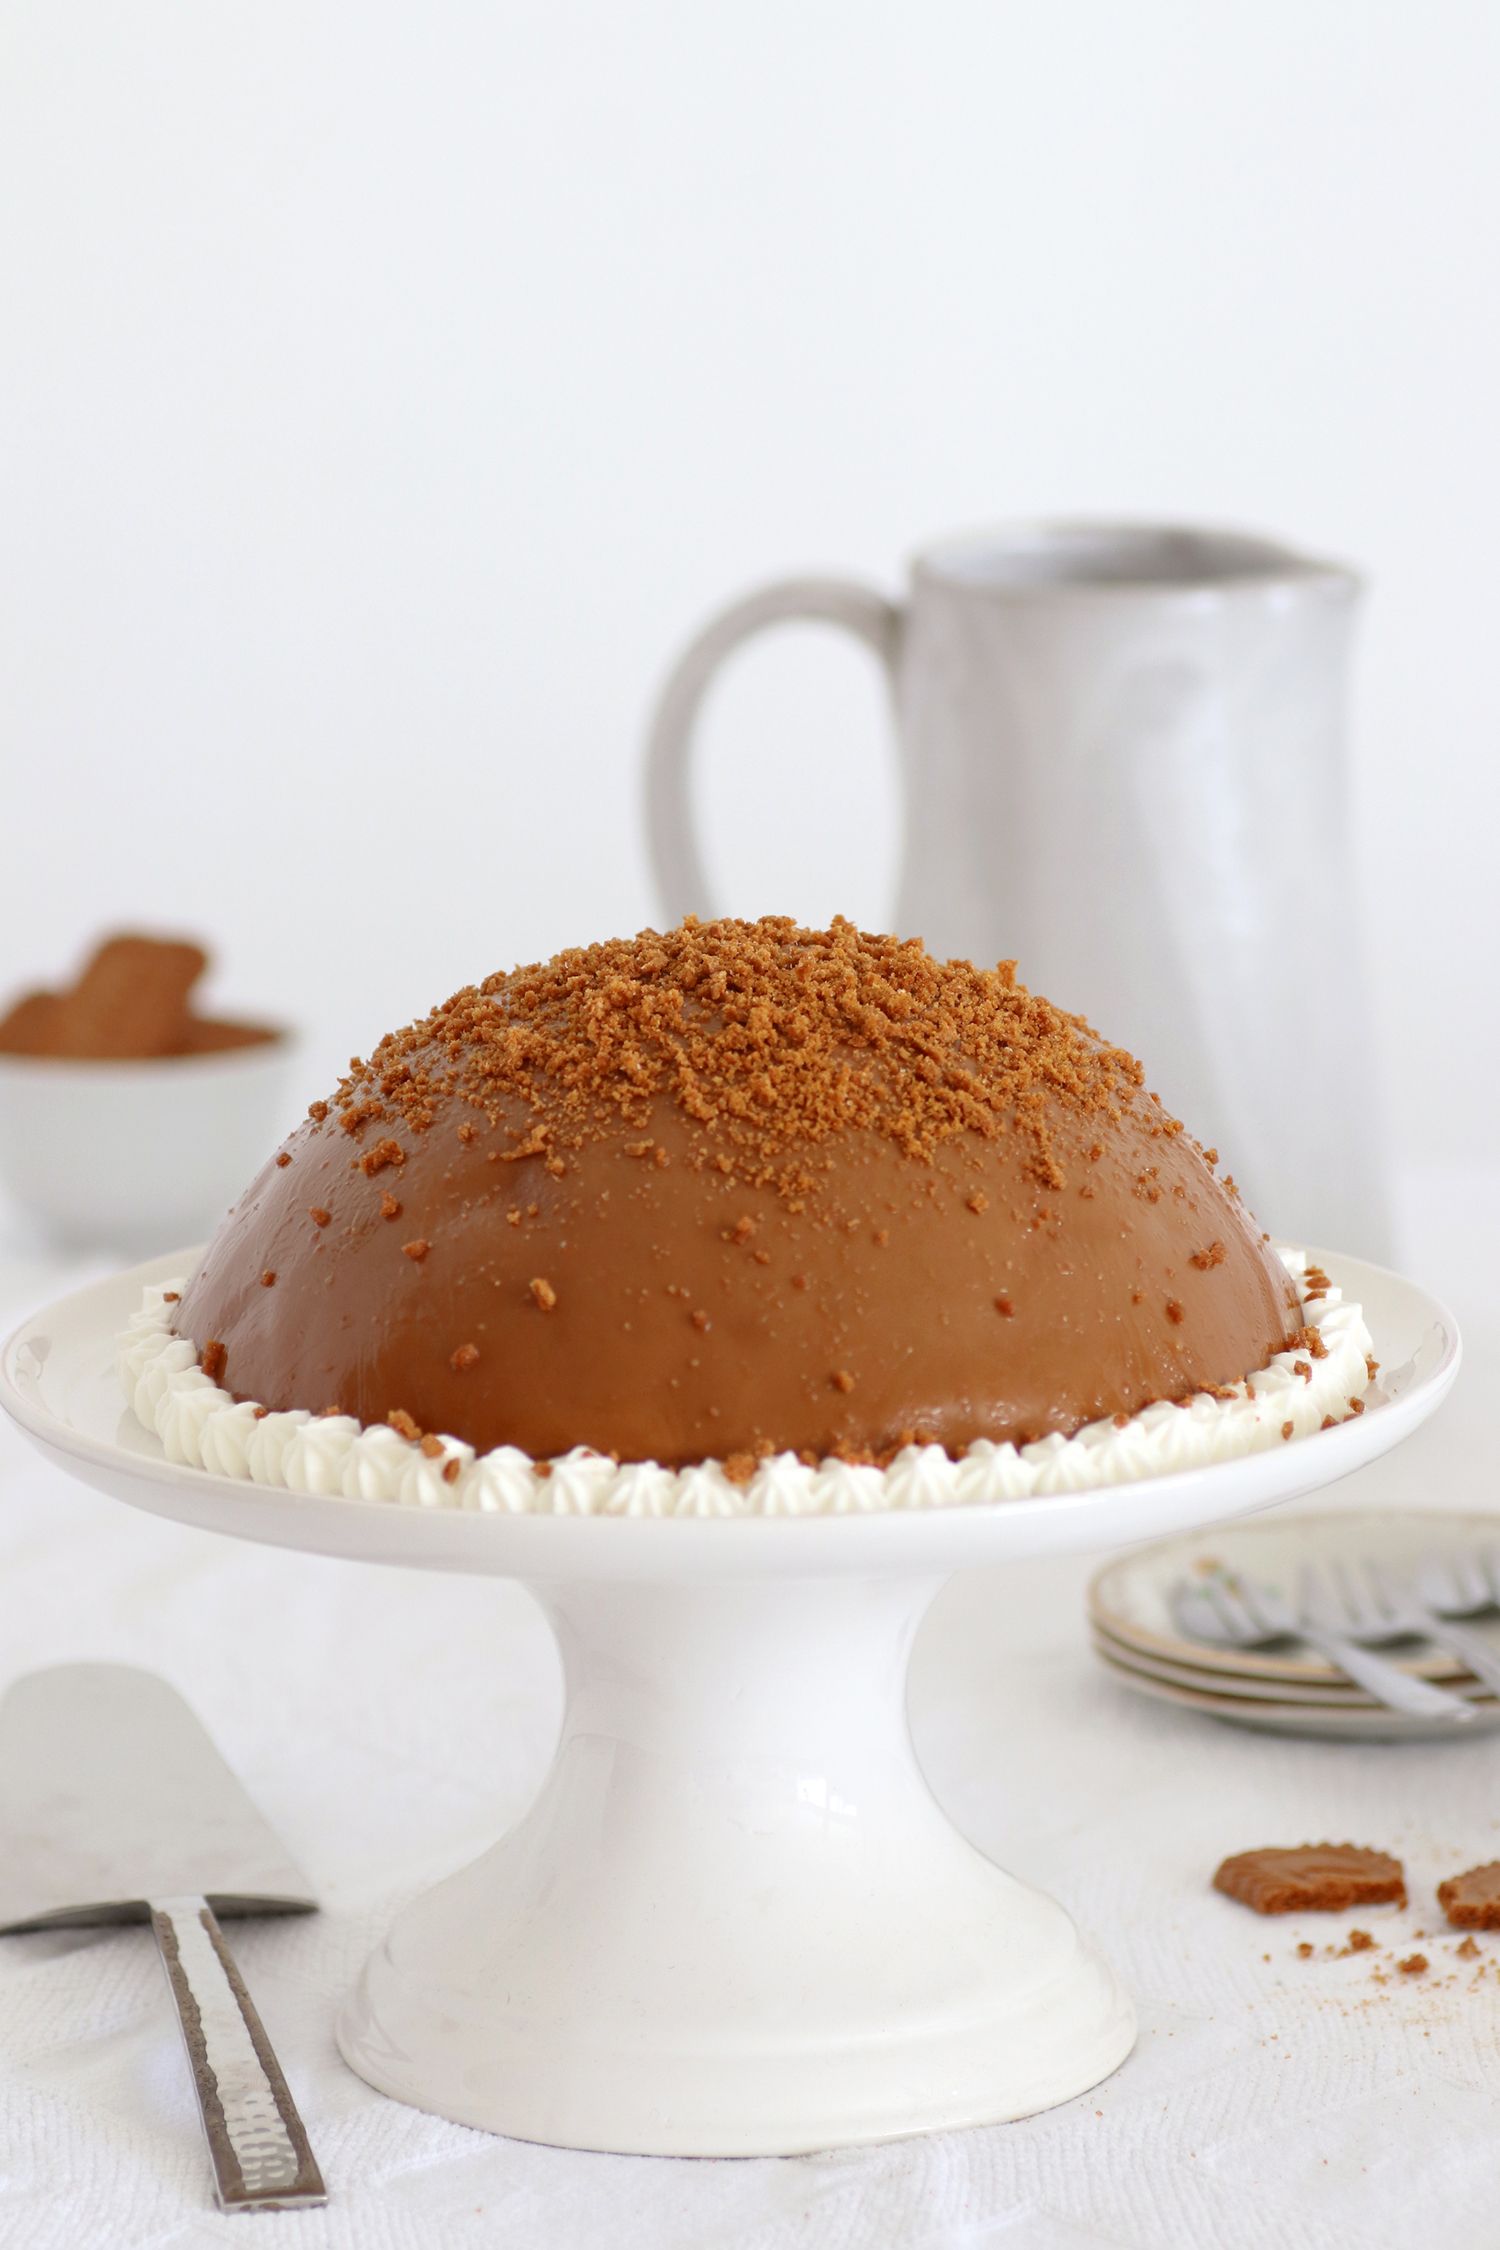
Photo: Natalie Levin
You can definitely say that lately I got addicted to making Bomb cakes. I bought a new bomb cake pan after the previous one disappeared after moving apartments in recent years; and since then I just want to make more and more bomb cakes in all kinds of flavors. There is something very impressive about this presentation, which immediately makes everyone say WOW when the bomb cake is served to the table.
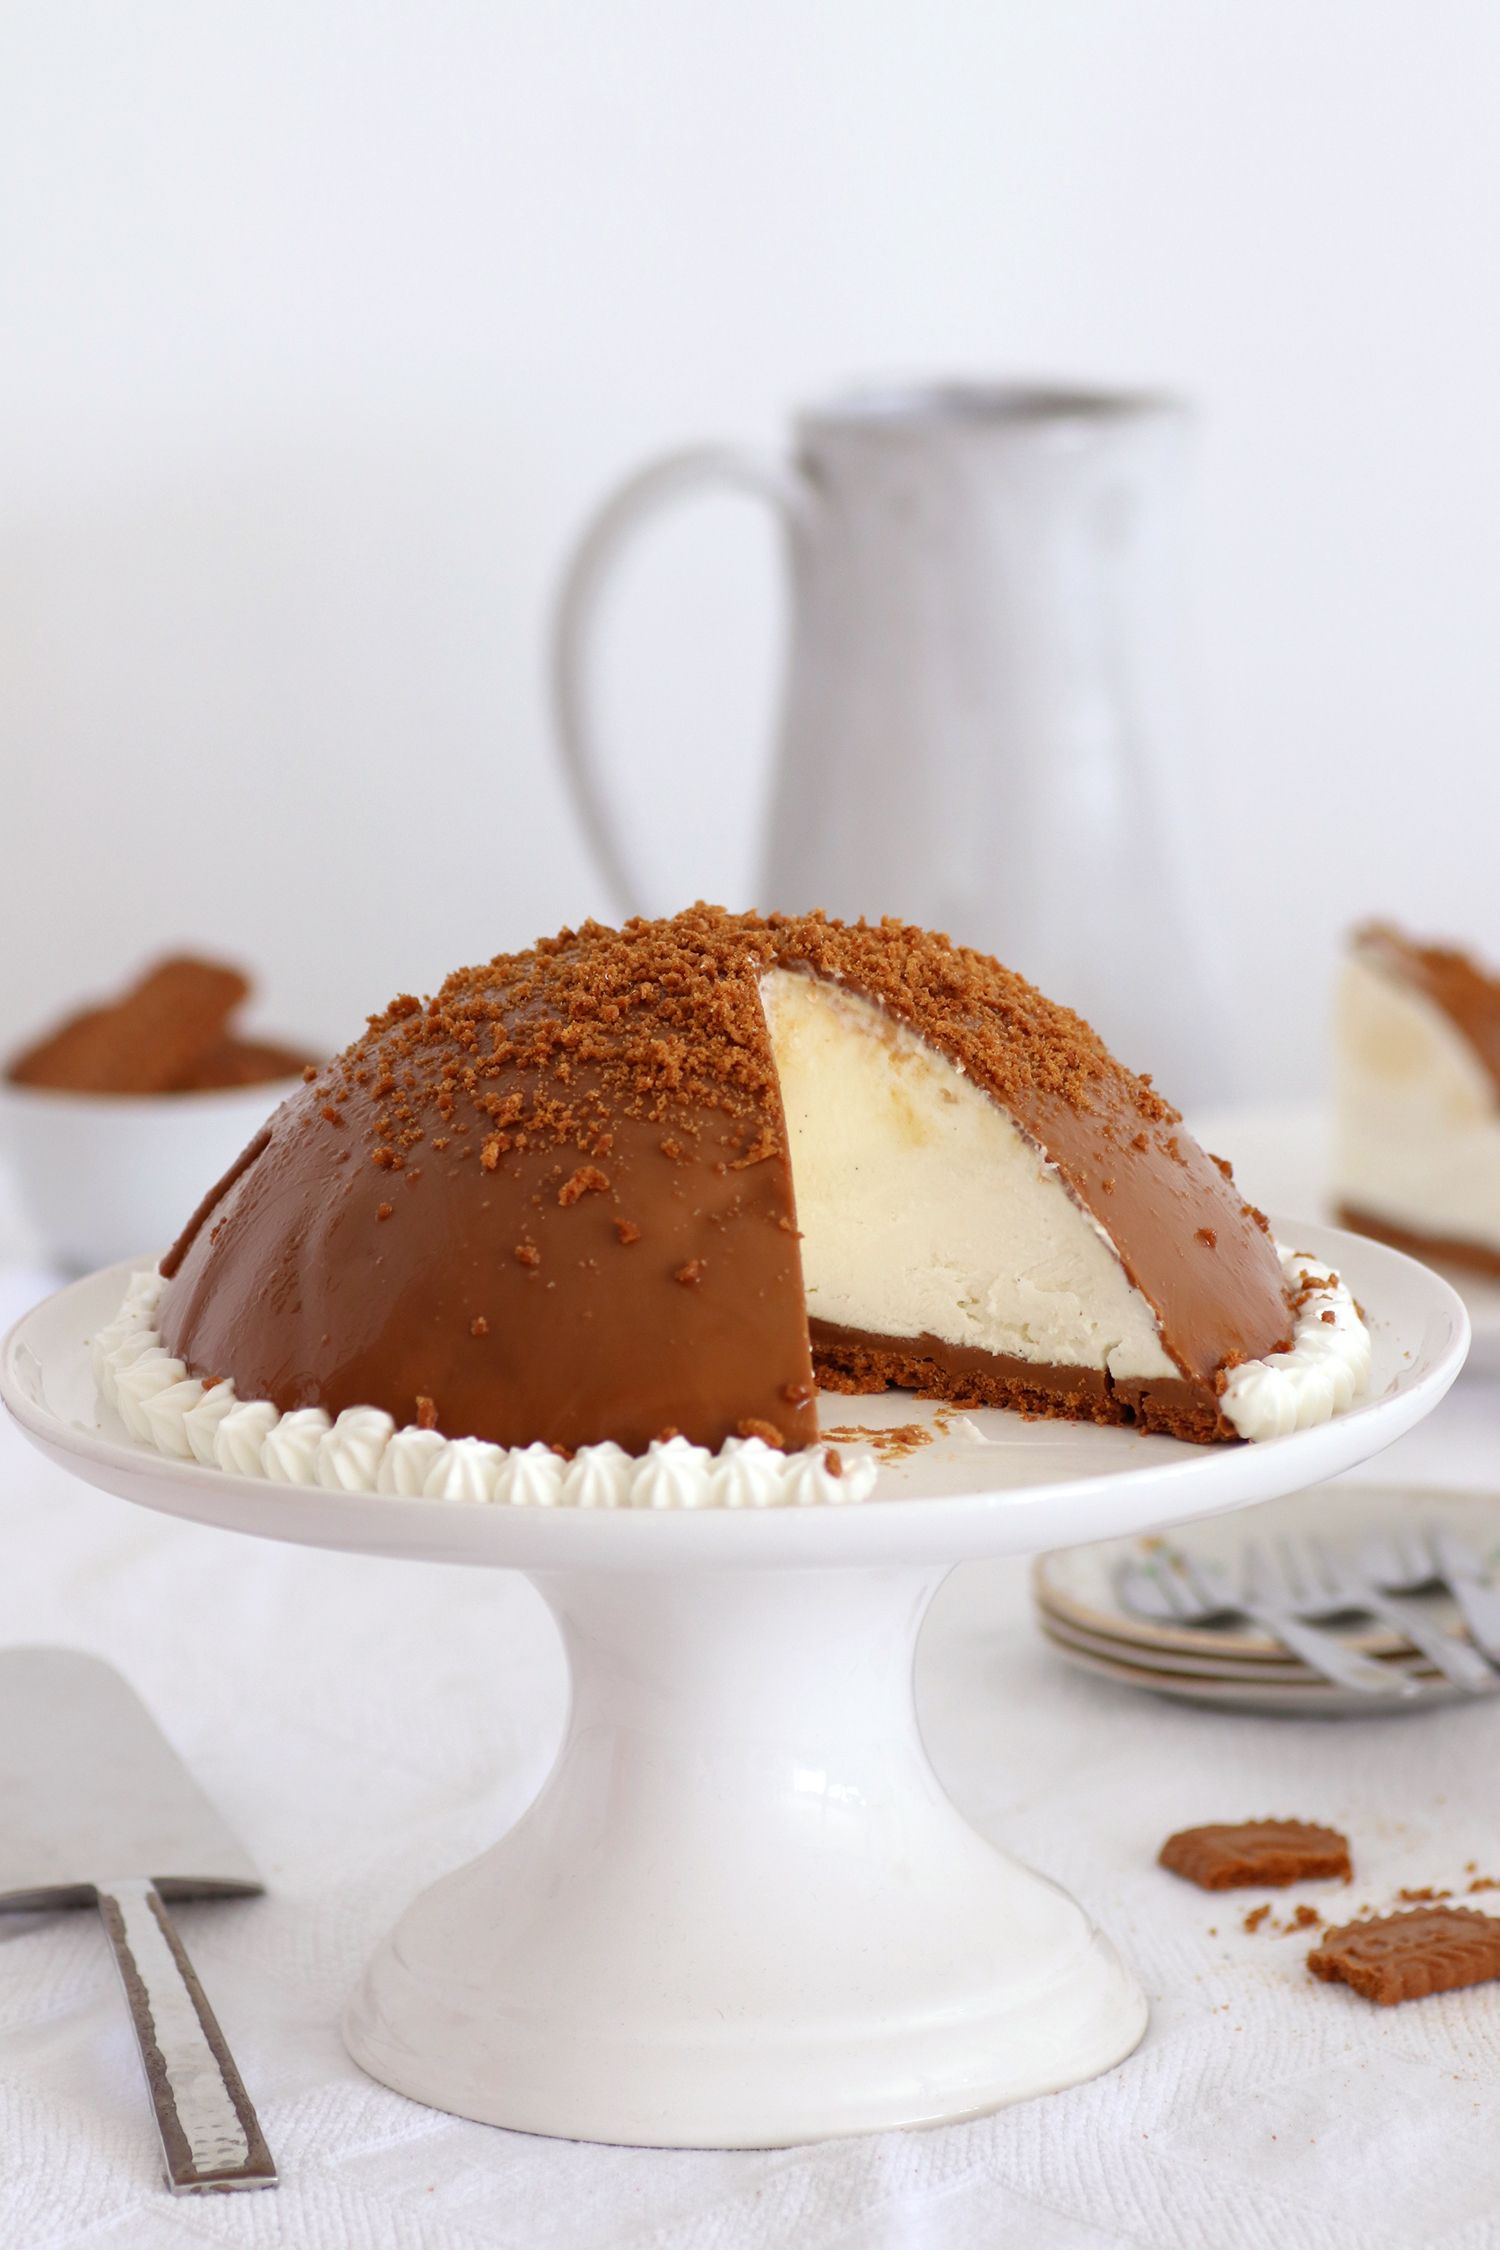
The next cake is one of the easiest cakes you can make, and if you like Biscoff spread, it’s all for you. This quick and tasty Biscoff cheesecake bomb cake is made of a light cream cheese mousse, Biscoff cookies and spread base, and a shiny Biscoff glaze.
It can be prepared now for Shavuot holiday feast (only decorate on the day of serving). Also, you can serve it in two different variations: regular, where it’s in a texture of a mousse cake or frozen, where it’s in a texture of ice cream cake. Either way – it’s a simple, easy and wonderful cake.
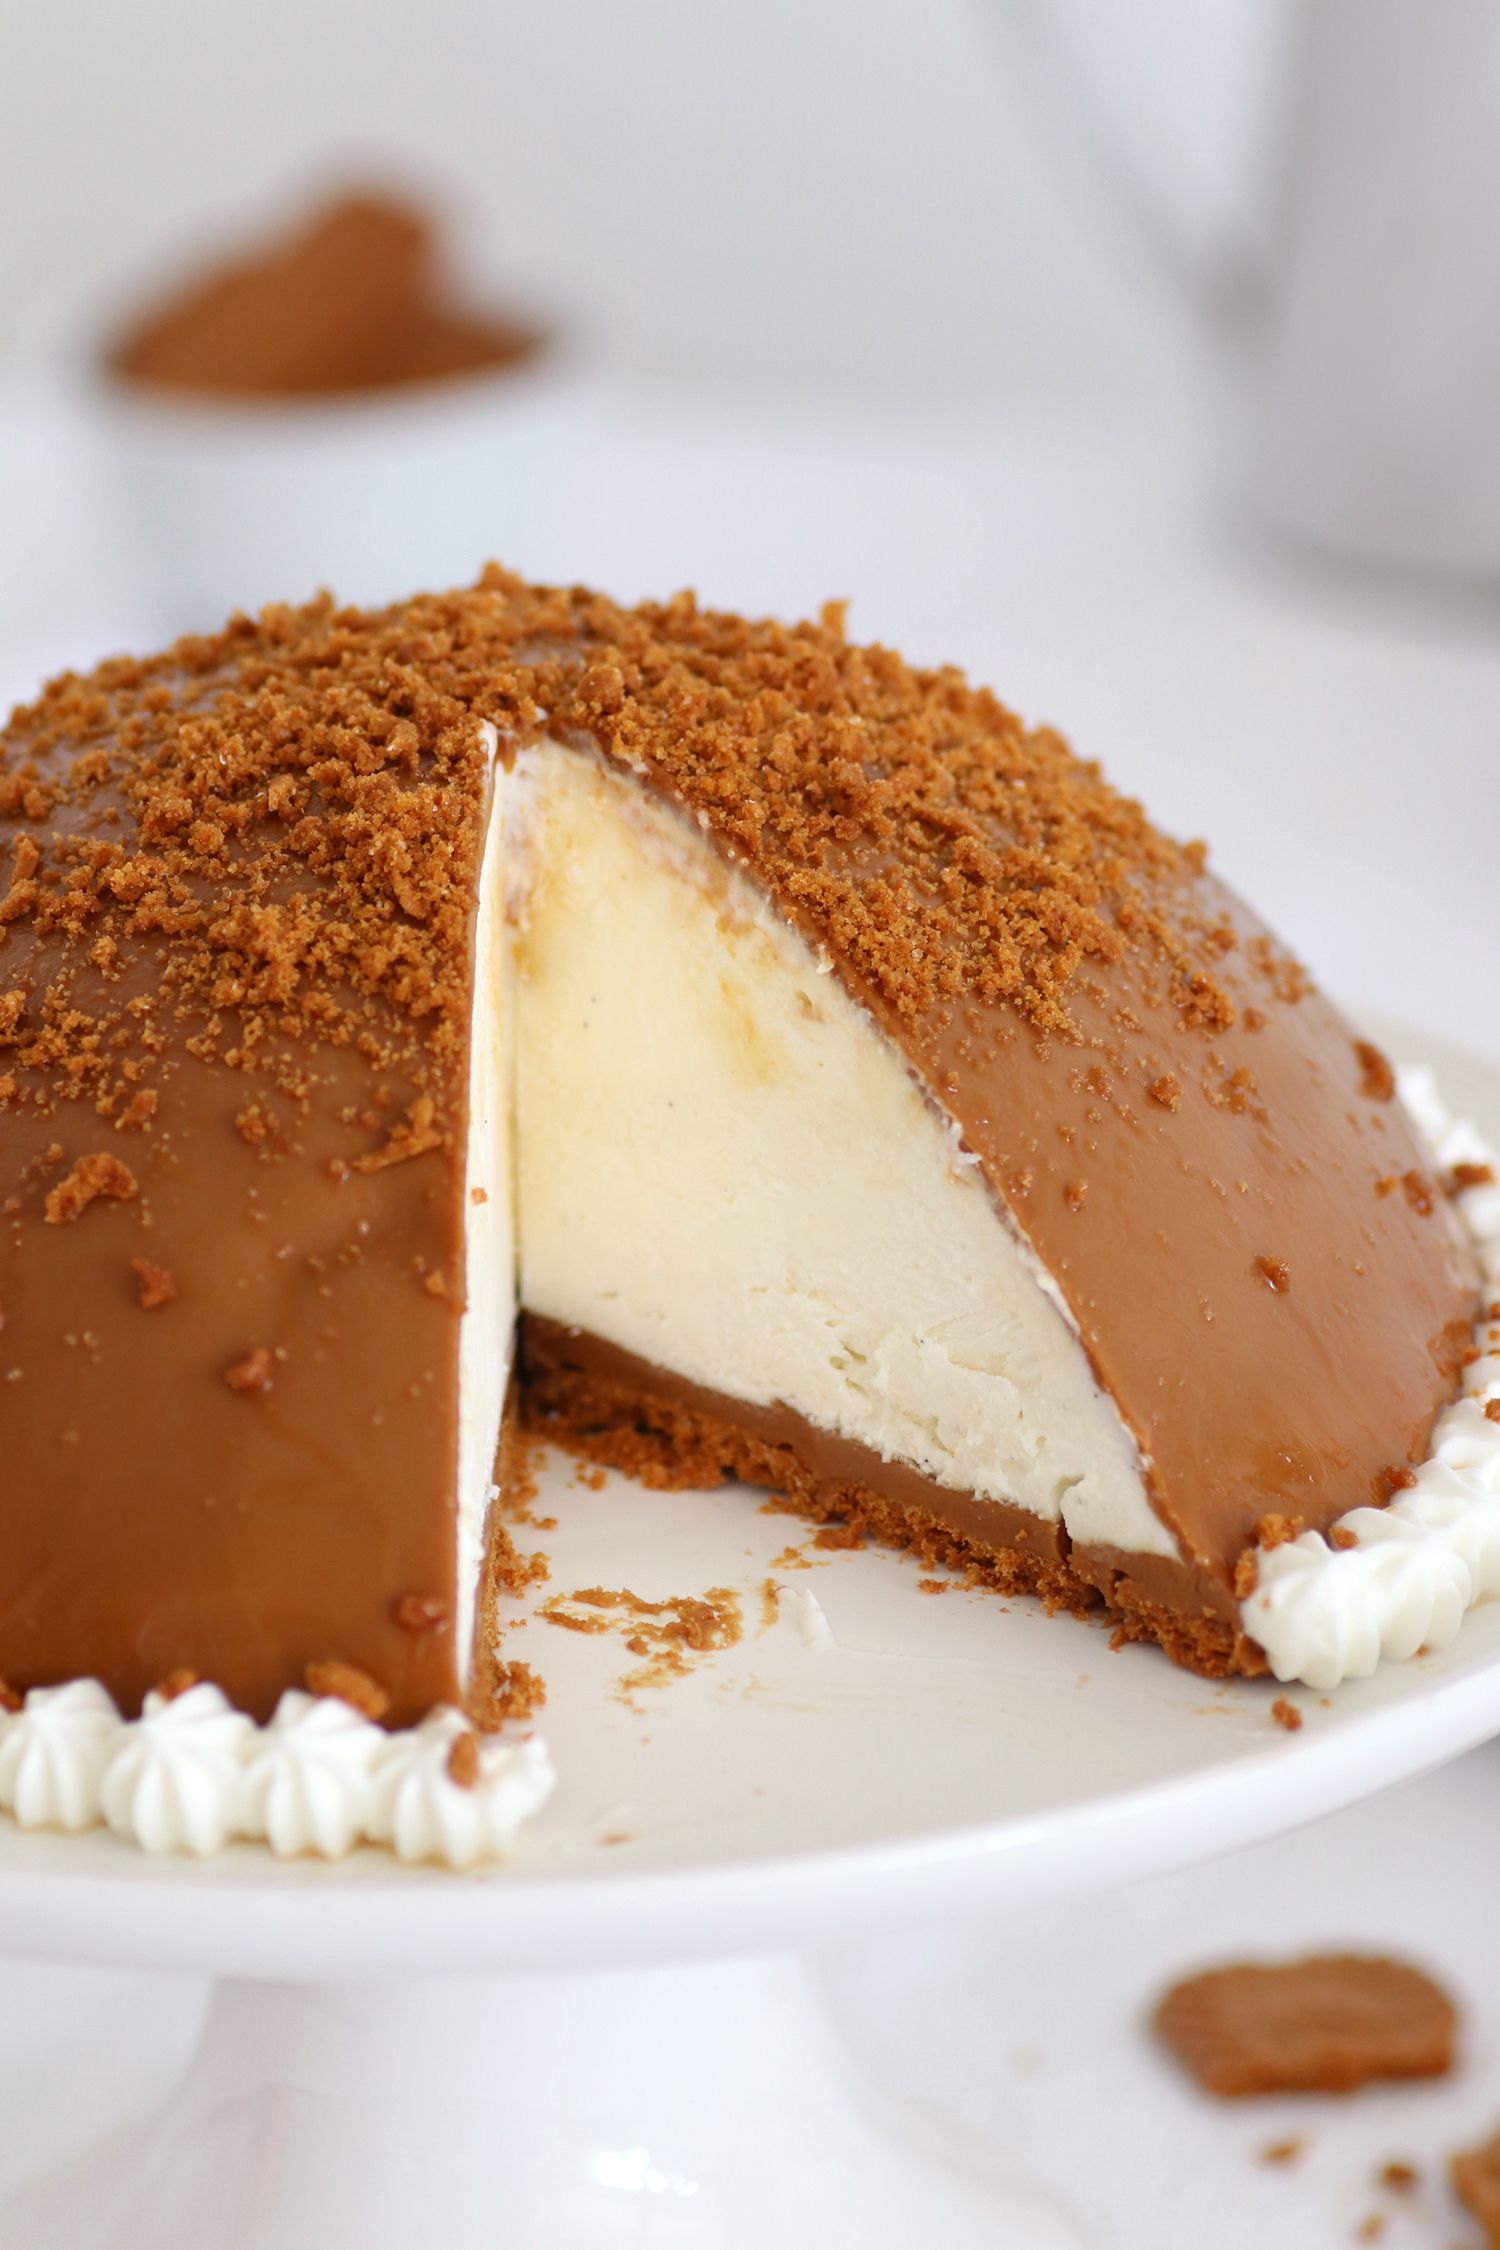
Photo: Natalie Levin
No Bake Biscoff Cheesecake Bomb Cake
For the cream cheese mousse:
- 250 grams of mascarpone at room temperature
- 250 grams ricotta cheese
- 75 grams of powdered sugar
- 40 grams instant vanilla pudding powder
- 1 teaspoon vanilla extract
- 250 ml. whipping cream (very cold)
For the base:
- ½ jar of Biscoff spread
- 15-20 Biscoff cookies
For coating:
- 1 jar of Biscoff spread
- 1 tablespoon vegetable oil
For the whipped cream (optional):
- 80 ml. cold whipping cream
- 2 tablespoons powdered sugar
For decoration:
- 1-2 Biscoff cookies (crushed)
Cheese Mousse:
- Cover the bomb pan in plastic wrap.
- In a mixer bowl, whip mascarpone, ricotta cheese, powdered sugar, instant pudding and vanilla until combined.
- Increase the speed of the mixer and add the cold cream in a thin stream while whipping, until you get a uniform and firm cream.
- Pour the mousse into the mold and straighten the top.
- Cool for about 10 minutes in the freezer.
Biscoffe base:
- Heat the Biscoff spread in the microwave for about half a minute until it softens.
- Pour the liquid spread over the cheese layer, and over it, arrange cookies tightly to form a base.
- Freeze the cake this way for at least 4-5 hours until it is completely frozen.
Coating:
- Remove the cake from the baking pan and remove the plastic.
- Place the cake on a rack that is placed on a baking sheet to absorb access coating.
- Heat the Biscoff spread until it is liquid and mix with some oil. Pour over the cake so that it is coated from all sides.
- Cool for about 10 minutes in the refrigerator for stabilization.
Whipped cream:
- Whip the cream and sugar powder into a firm whipped cream.
- Transfer to a piping bag with fitted with an 8mm jagged piping tip and drizzle tiny mounds of cream at the bottom of the cake sides.
- Garnish with crushed cookies and serve.
- The cake is kept in a closed container in the refrigerator for up to 5 days.
- The cake can be frozen for up to two weeks.
- If desired, you can serve the cake half-frozen and get a kind of Biscoff ice cream cake.
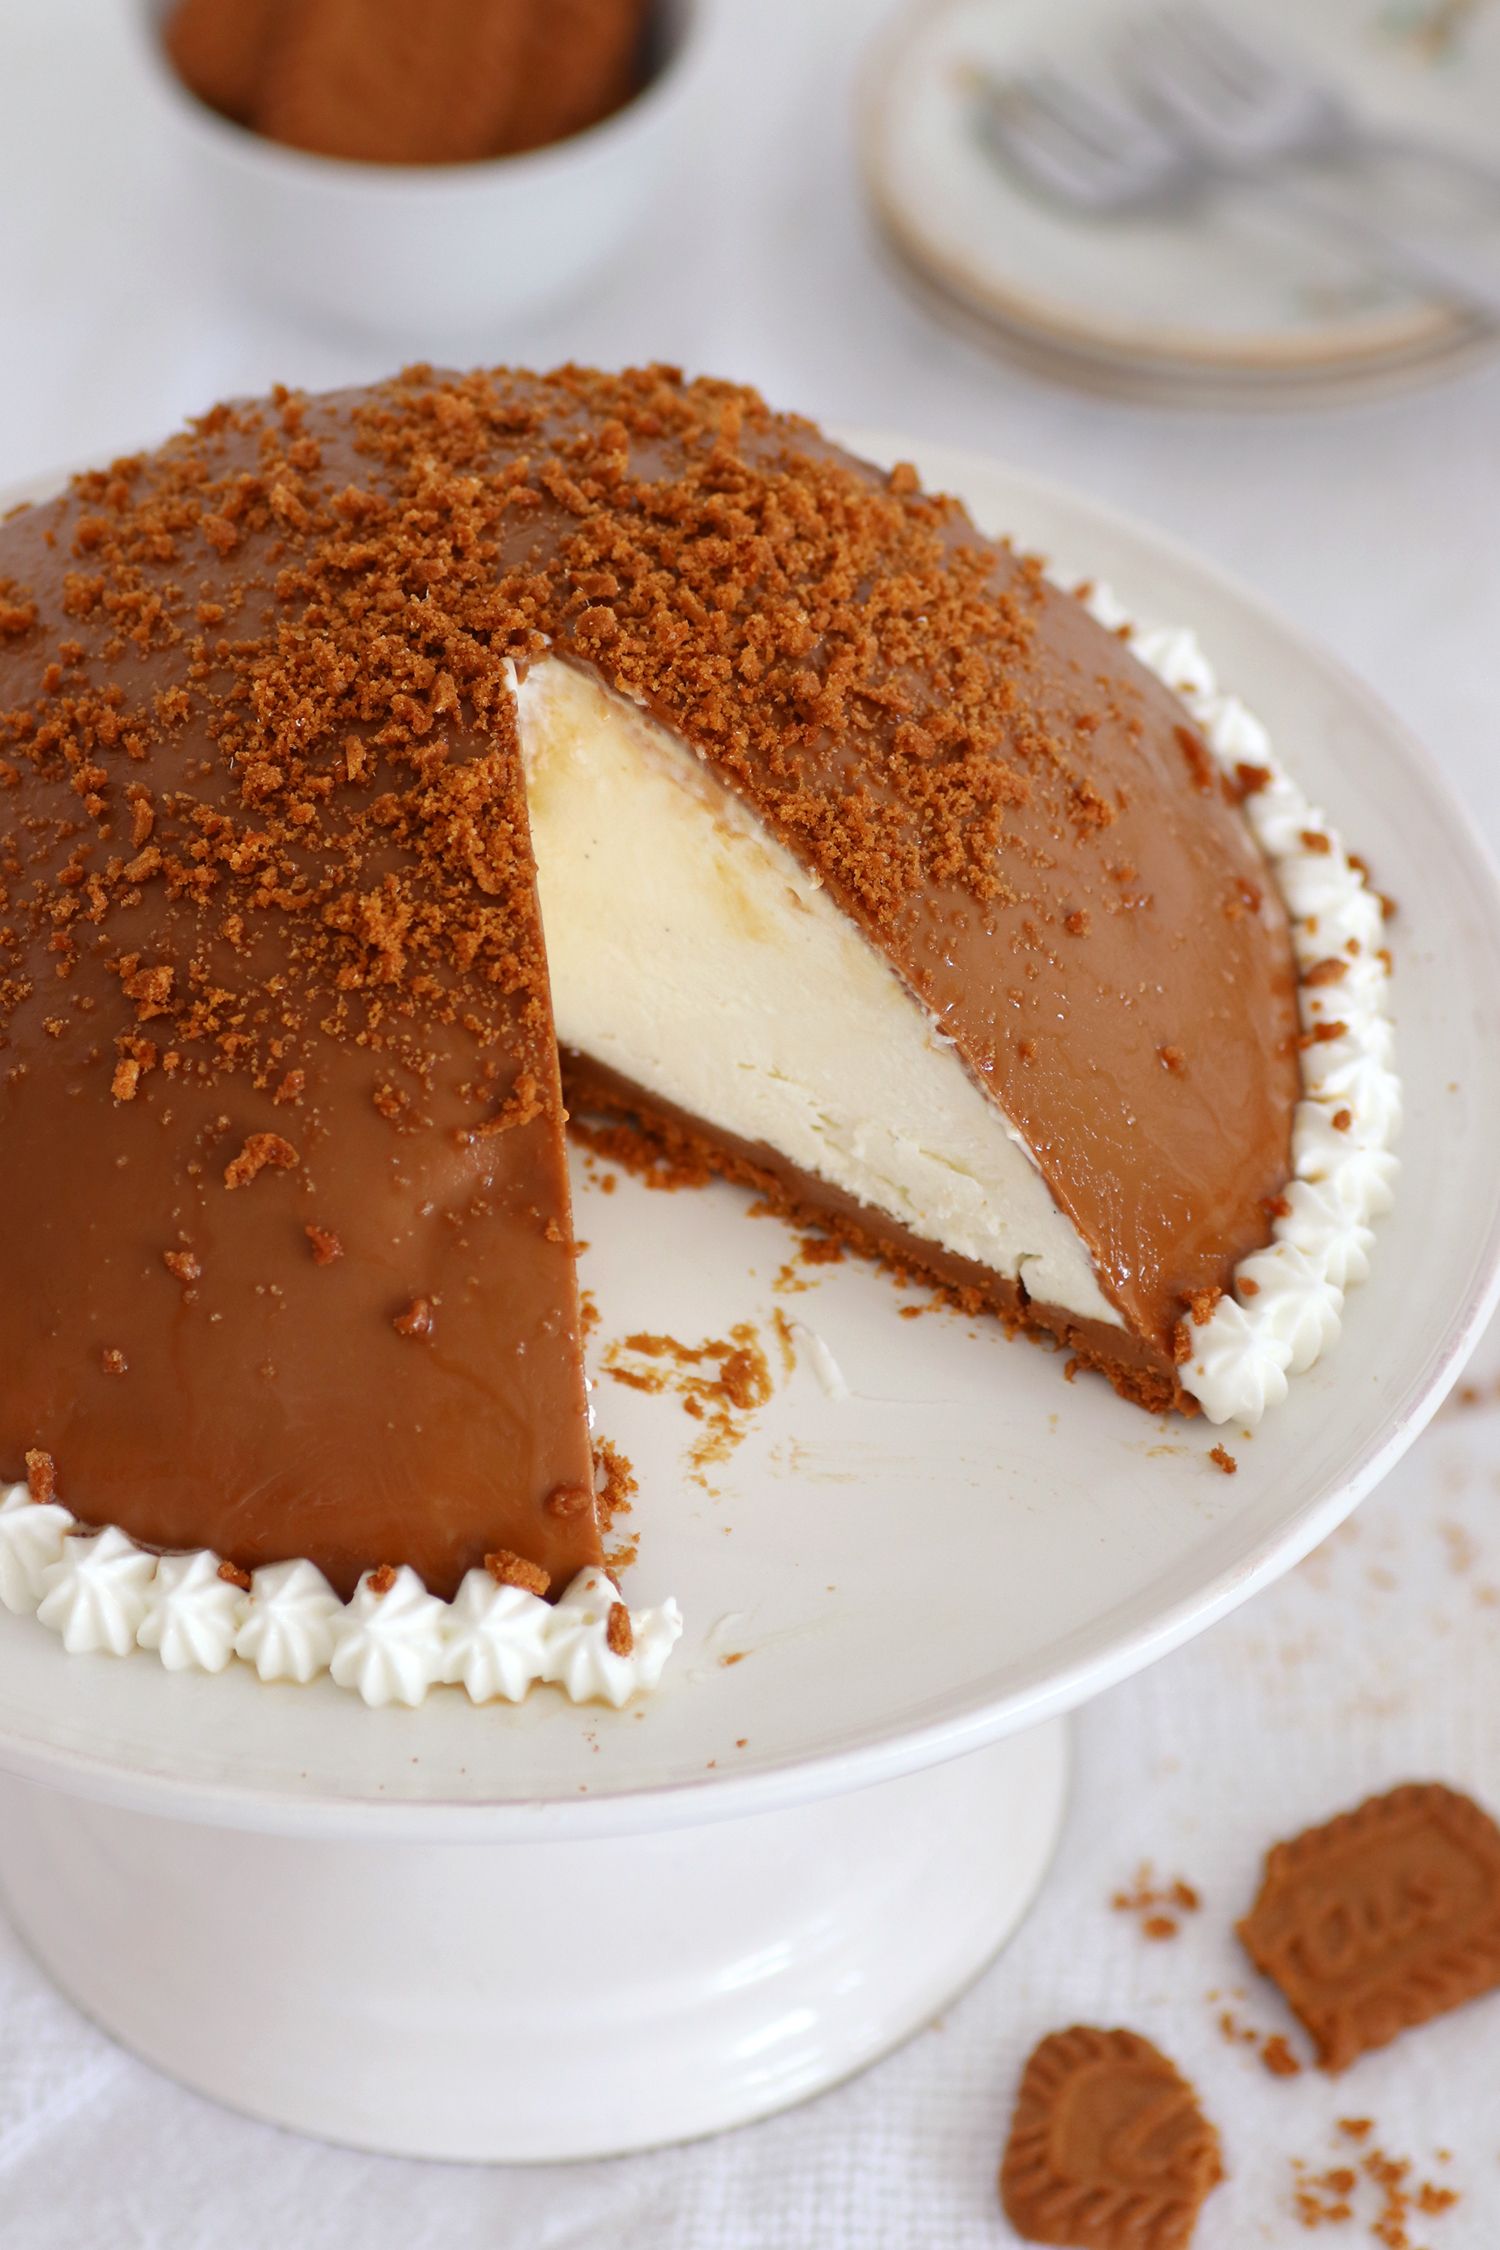
Photo: Natalie Levin
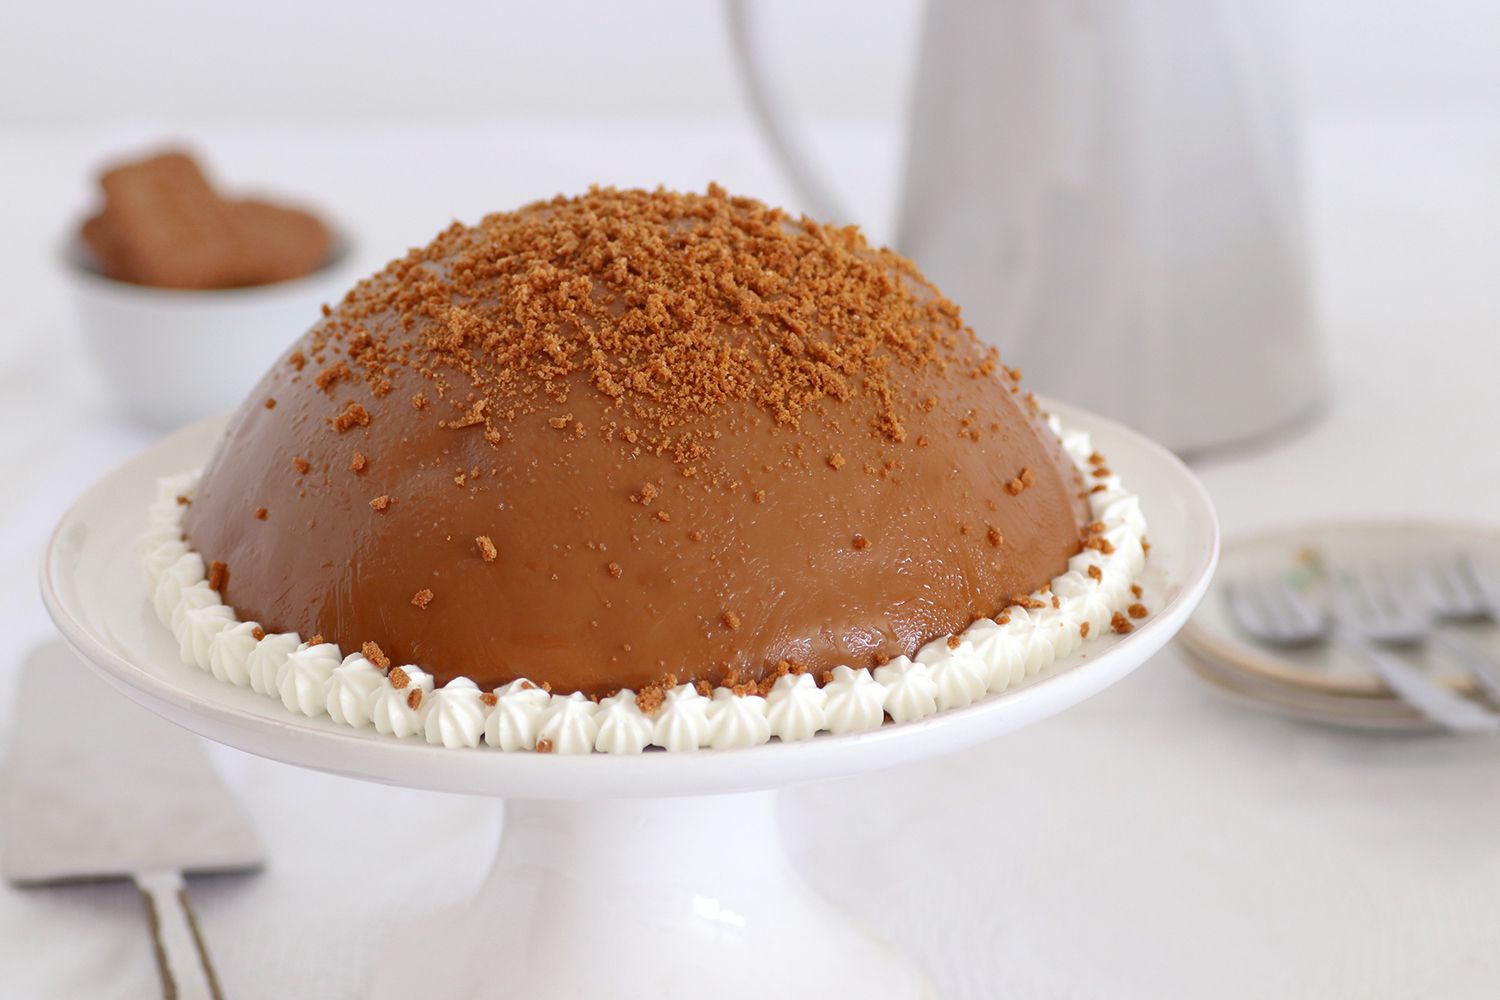
Photo: Natalie Levin


